Week 2, Assignment 2
Computer-Aided Design
2D design :-
'2D' stands for 2-dimensional. A 2D shape is any shape that has two dimensions.
2D design is the creation of flat or two-dimensional images for applications such as electrical engineering, mechanical drawings, & architecture.
Adobe Illustrator
There are Many software’s available for 2D designing, I choose Adobe Illustrator CC 2017 to begin with. First I went to the Adobe Illustrator site and downloaded the setup for my Windows PC. Ran the installation process which was very simple and as it got installed the Work begans.
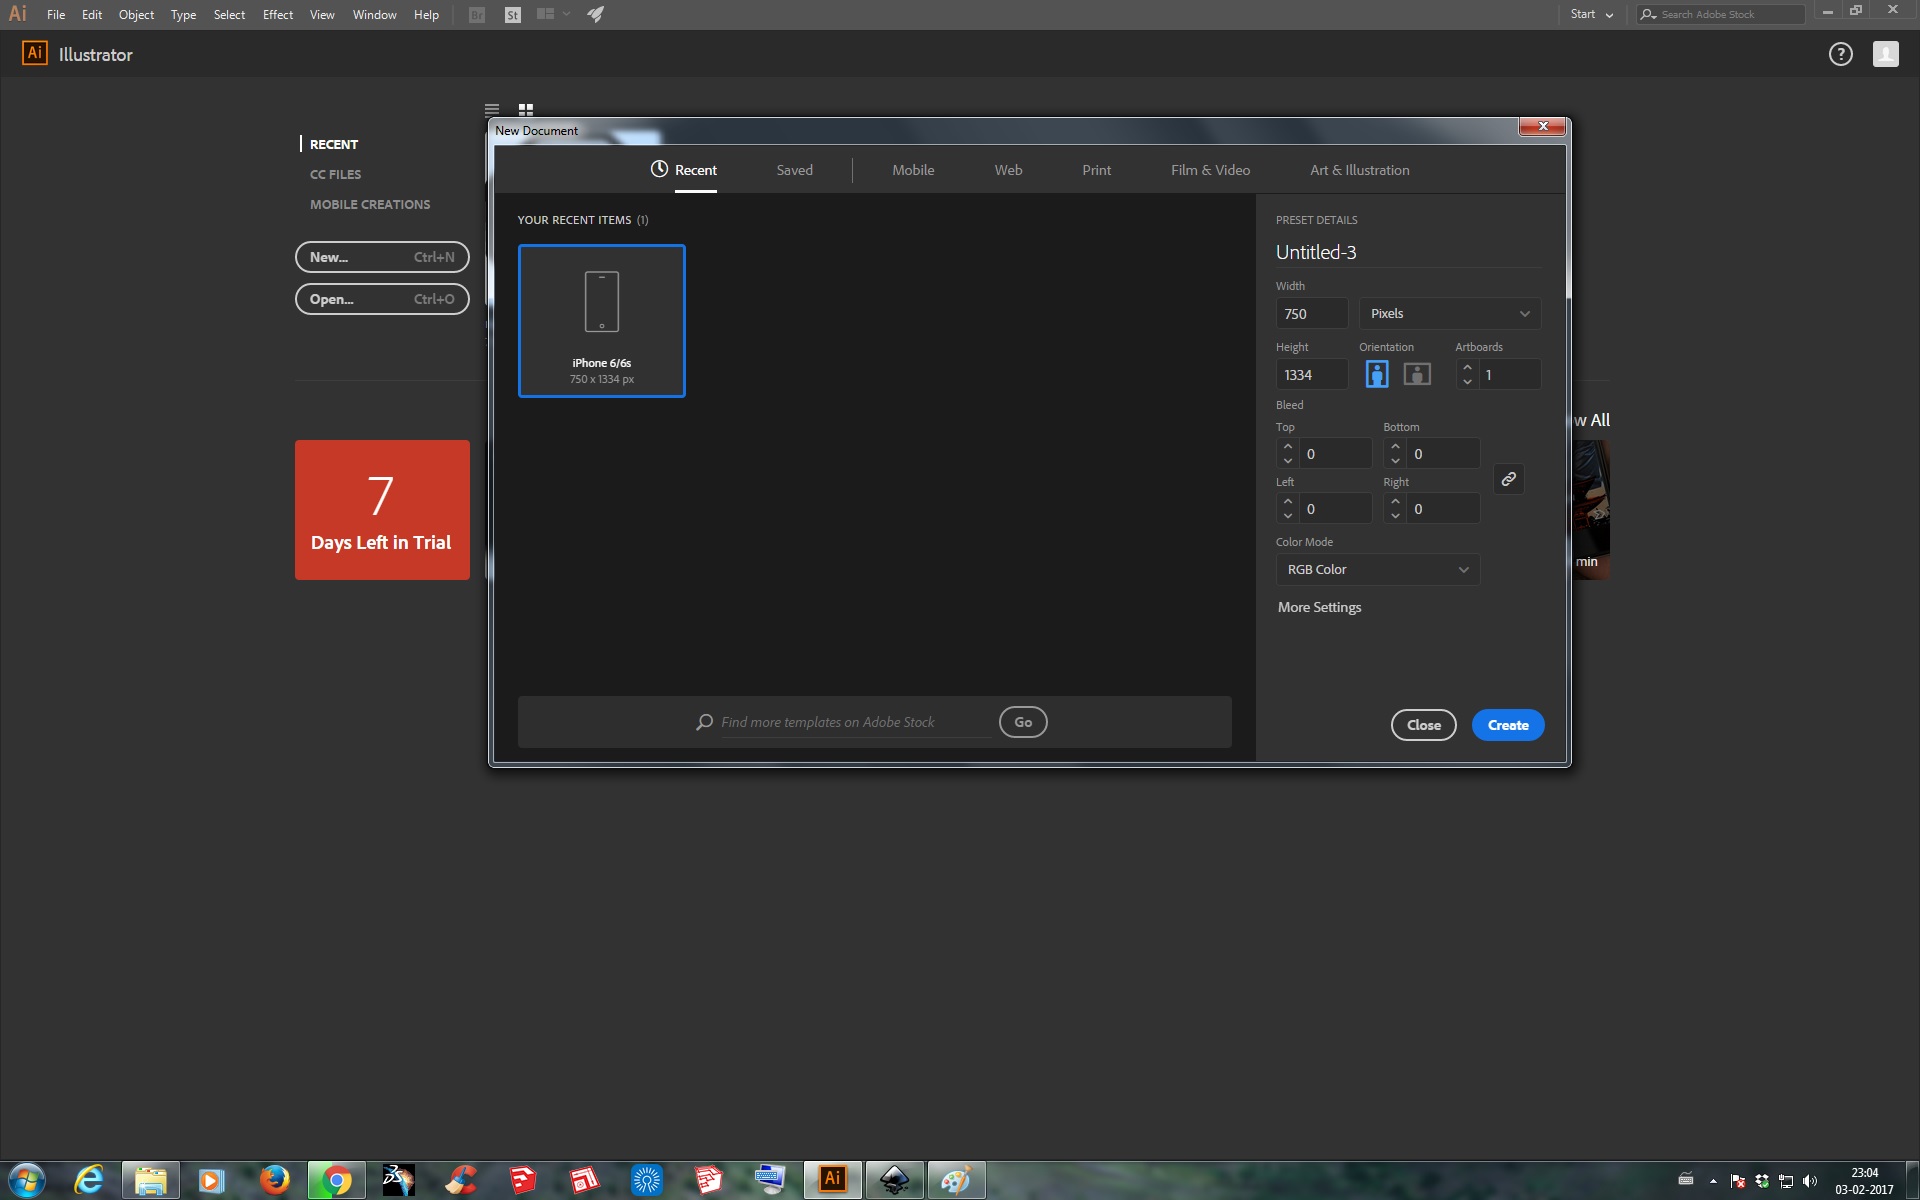
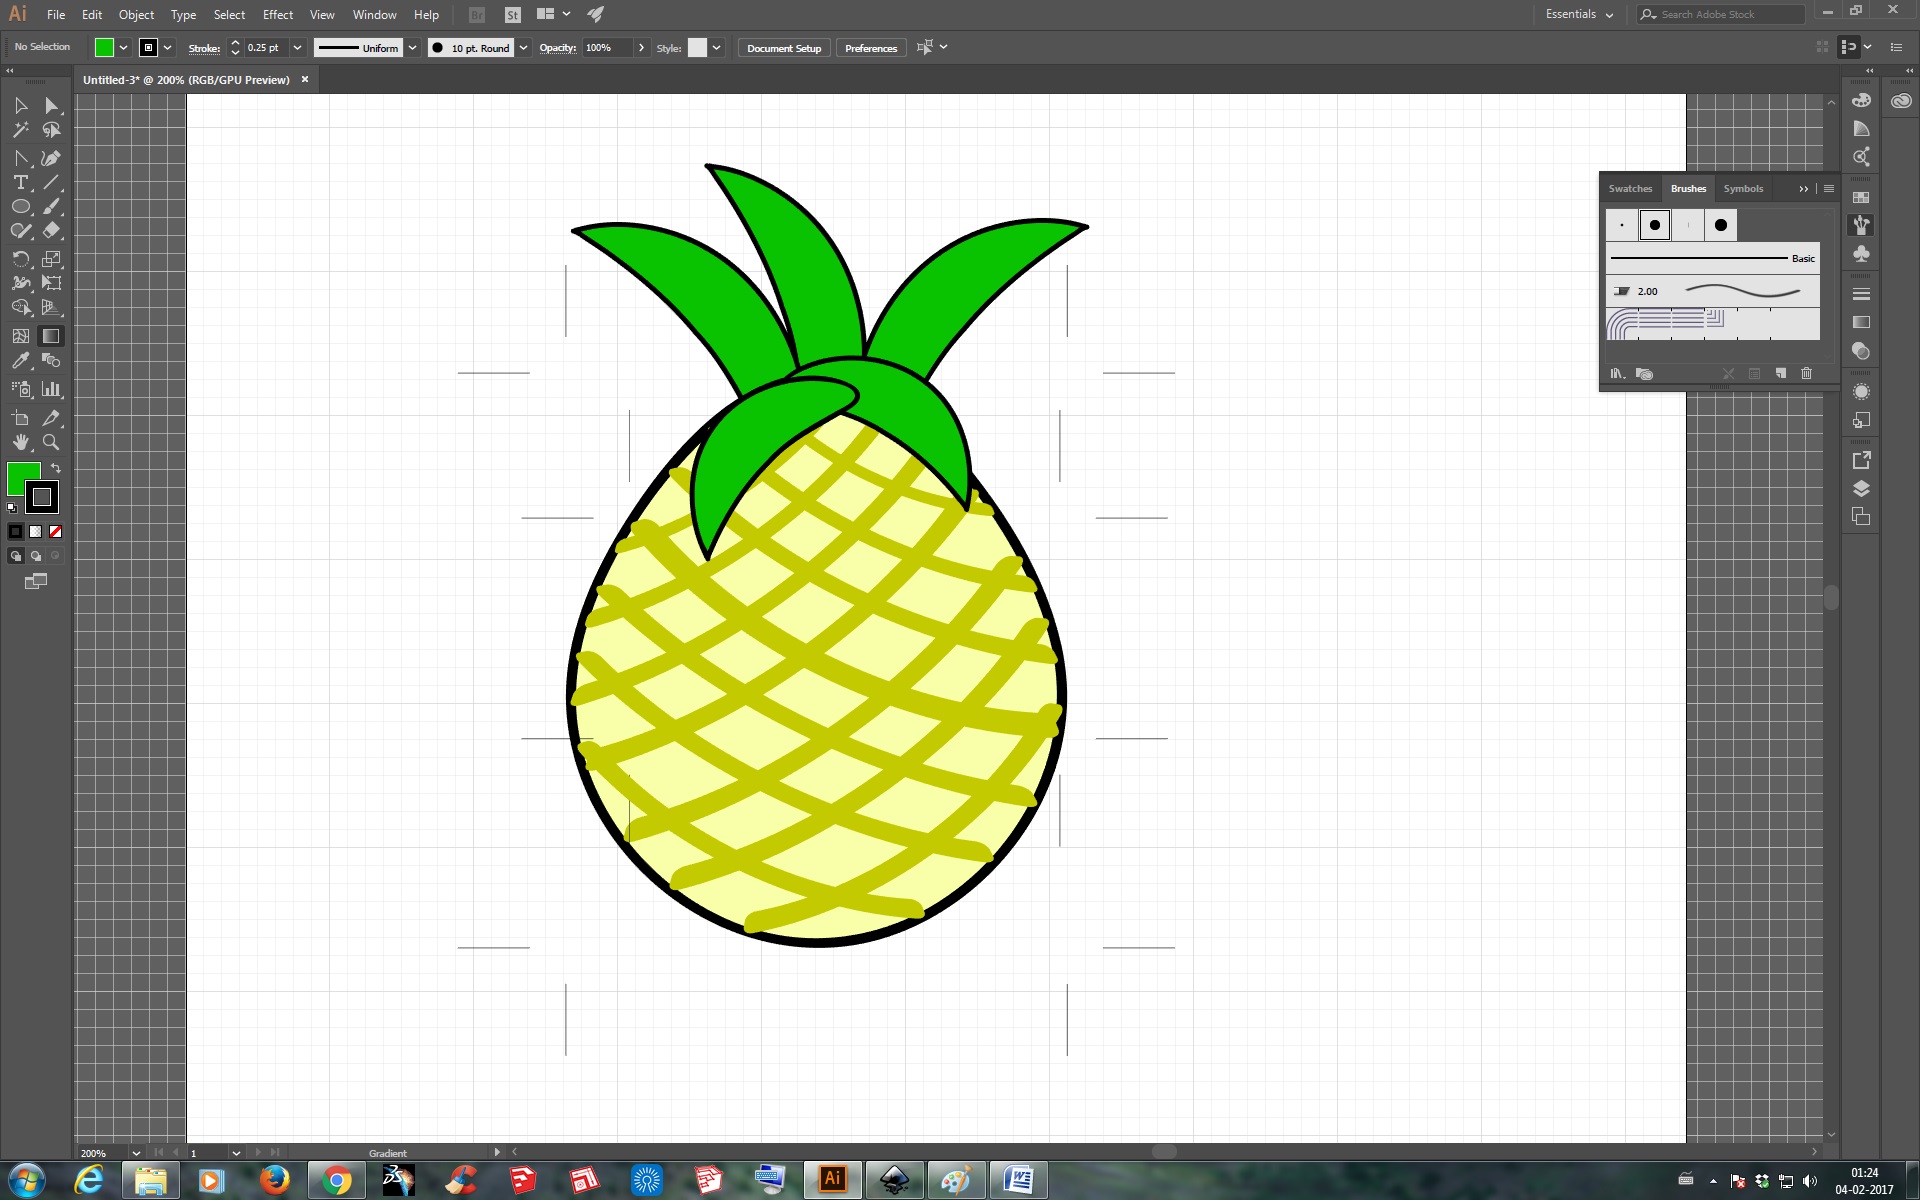
As I was using Illustrator for the first time the interface was new to me, so I then first went through the Tutorials available online on YouTube and other sites, and learned the basics. Then I thought to make a Pineapple on Illustrator as my Final Project is on Pineapple ad it can also serve as a Logo to it. So to began with I started Illustrator and Opened a New File with setting page and all other setting after that my work area poped up and it was ready to be drawn on it.
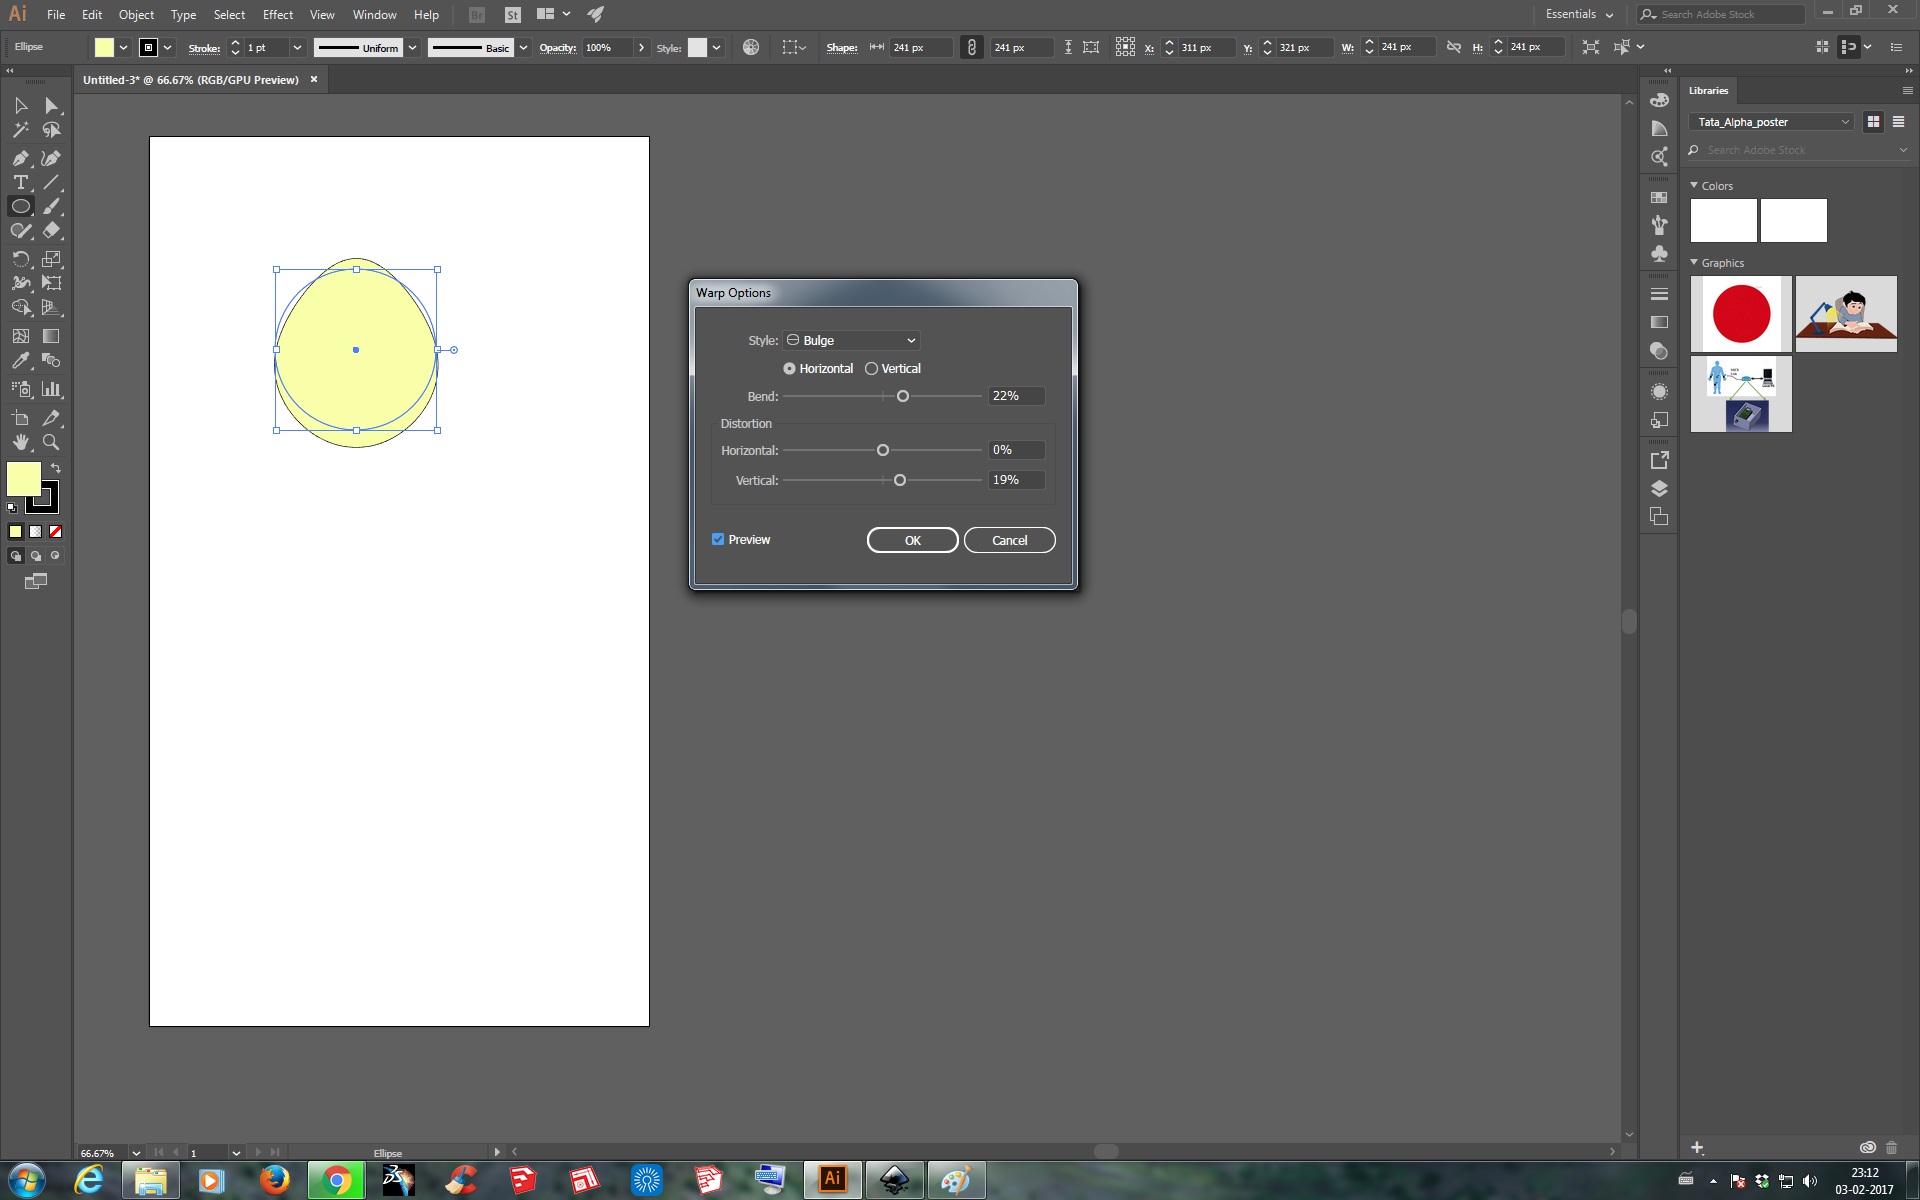
First I selected the Ellipse Icon from the tool bar to began to draw on. Filled color inside similar to Pineapple color. Now to make it of proper Pineapple shape;
Effect - Wrap - Bulge - Selected the Horizontal Menu - Gave 22% Bend as it suited better to the shape - Horizontal as 0% - Vertical as 19% - then OK
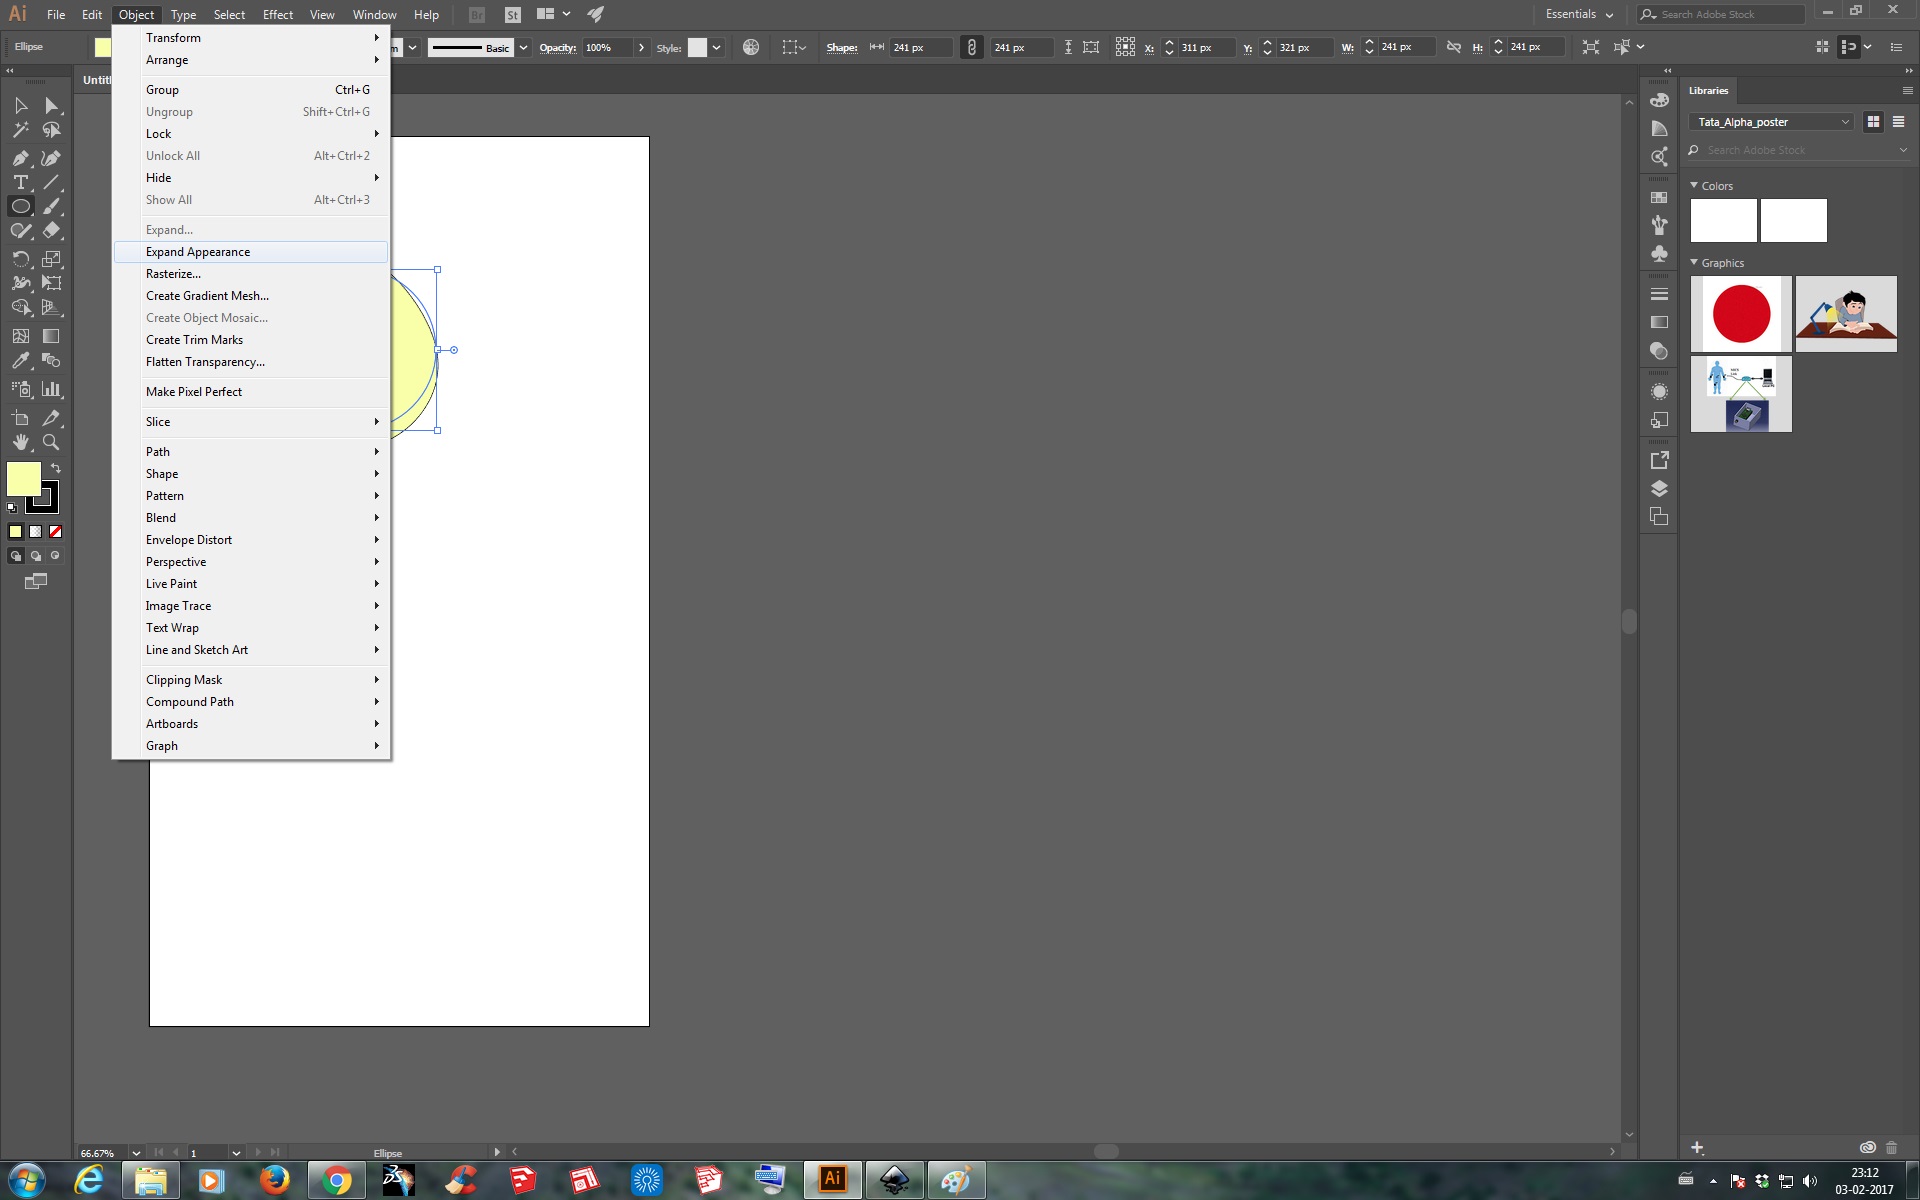
Object - Expand Appearance - Selected Rounded Rectangular Tool
Effect - Wrap - Bulge - Selected the Horizontal Menu - Gave 22% Bend as it suited better to the shape - Horizontal as 0% - Vertical as 19% - then OK
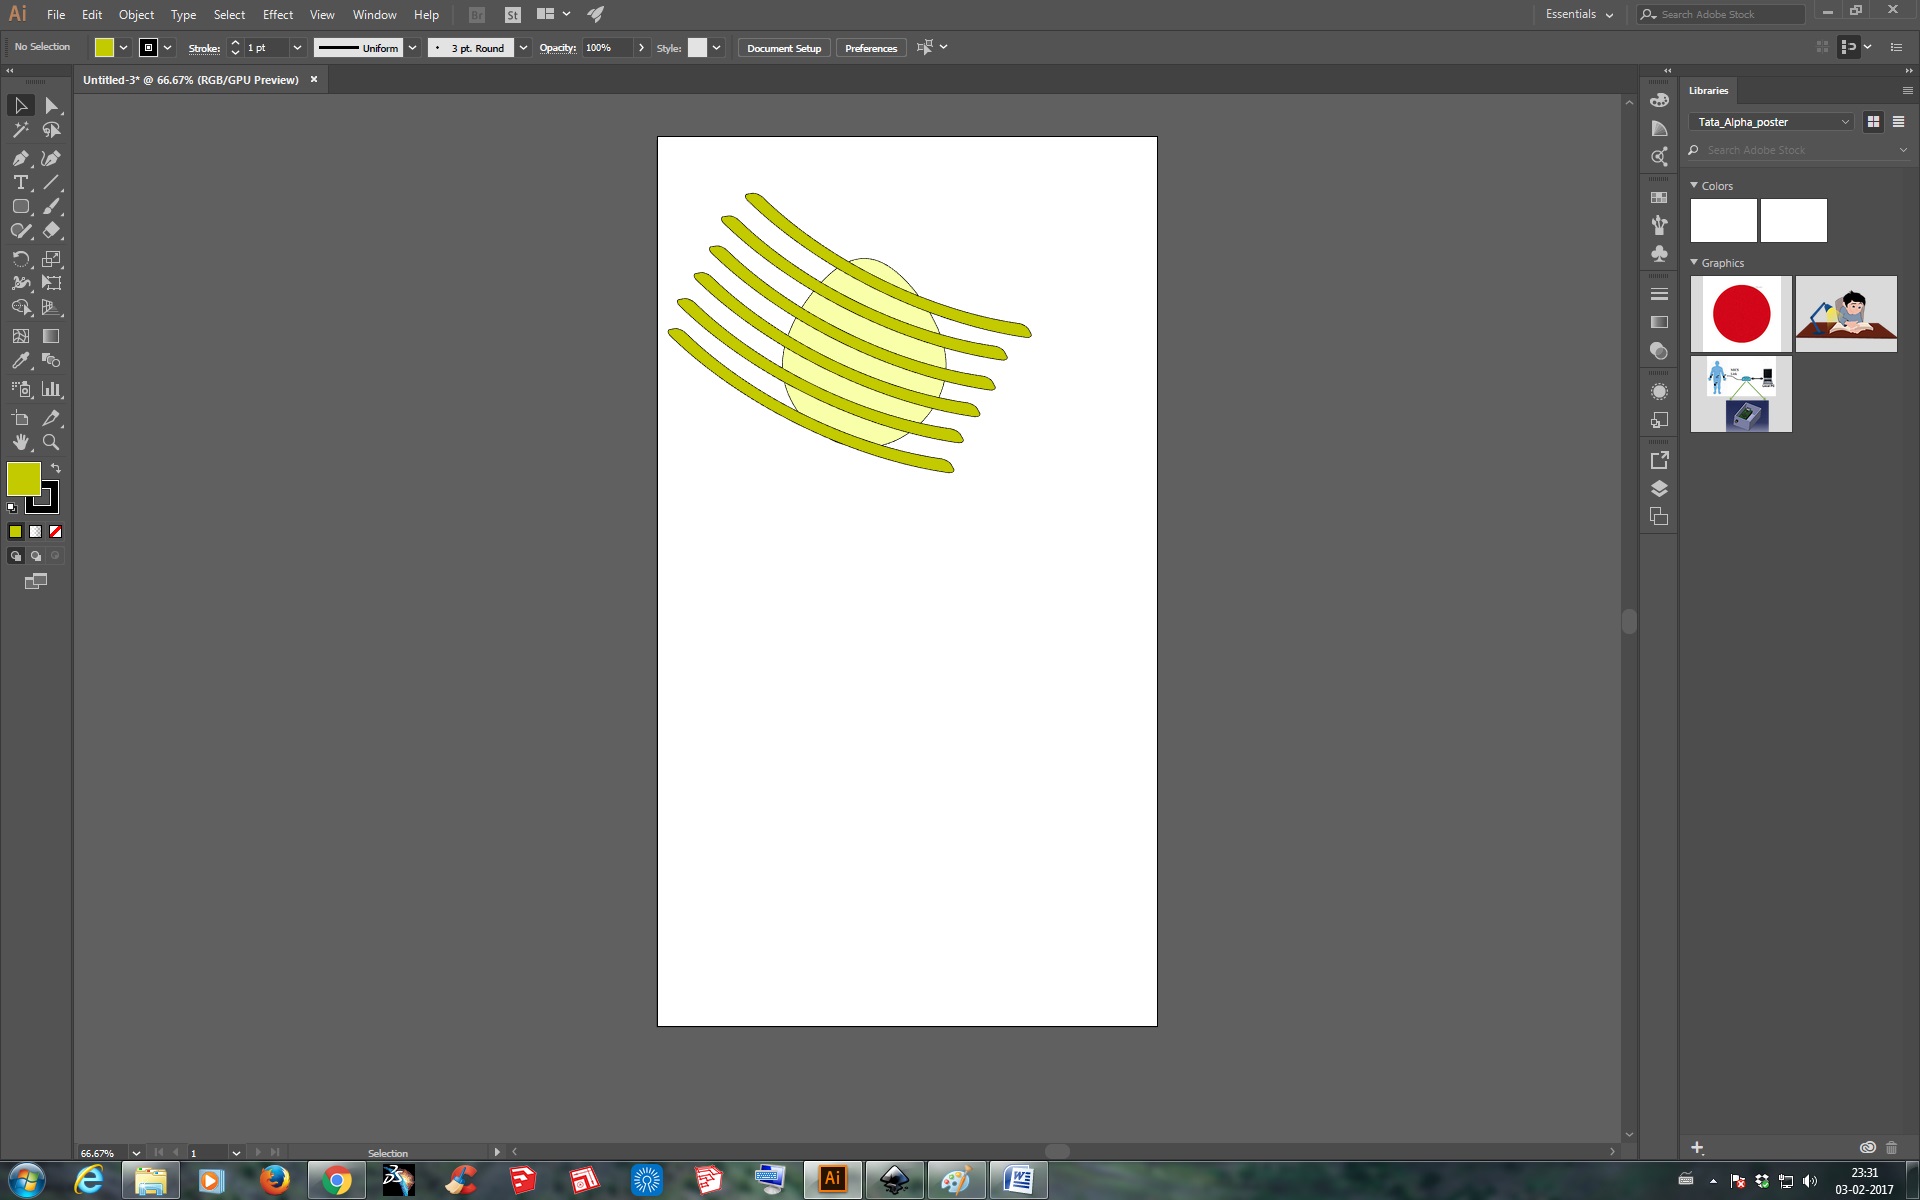
Now the pineapple shape is perfectly available, and to move on with I started making the Eye on the Pineapple Shell. So to start with I first selected Long Horizontal Rounded Rectangle Tool and Changed the of it to a Darker color Available of the Color I gave to Pineapple Shell made before and Moved that Horizontal rounded Rectangle on the Pineapple Shell.

Then did the same with this to make it more of a Arc Shaped, so went to :
Effect - Wrap - Arc - selected horizontal - gave 39% Bend and Horizontal and Vertical as 0% then clicked OK
Then as with this process only color filled gets the shape given so to make the outer border also of that shape, went to:
Object - Expand Appearance - Select Created Arc and rotated it as needed
After rotating Adjusted it on the Pineapple Shell made as on the top and made multiple copies of that Arc by simply “Crtl+C” and “Crtl+V” and arranged it one after other on the Shell, then Aligned it by selecting “Horizontal Align Centre”.
Then selected all the Arc Pattern and by Right Clicking it Send it to the background. Selected all the Sketch and went to Effect - Path Finder - Crop, this made all the excess Eye Patten made on the shell cut and was left with just the Eye Pattern on the Shell.
Now it was time to make the Leaves of Pineapple above it. So to began with first made another Ellipse and then went to Anchor point tool and make the End Pointed from one side. Then again the same procedure of making it filled with color and then arranging the border according to the color given.
Effect - Wrap - Arc - Selected Vertical this time - Bend of 46% and Horizontal and Vertical to 0% - OK - Object - Expand Appearence
Then Changed the Color of the Ellipse to Green as of a Leaf and arranged that leaf pn the top of the Pineapple Shell. As it was over the Shell send that Leaf Backward by Right Clicking it and then made number of leaves on the Pineapple and Finally after some effective stuff like increasing Brush Stroke and other i Made the Pineapple Logo Ready.
The above Pineapple File is available here to Download.
Other then Adobe Illustrator CC 2017, I tried some 2D designs in Coral Draw through some tutorials on YouTube.
Coral Draw
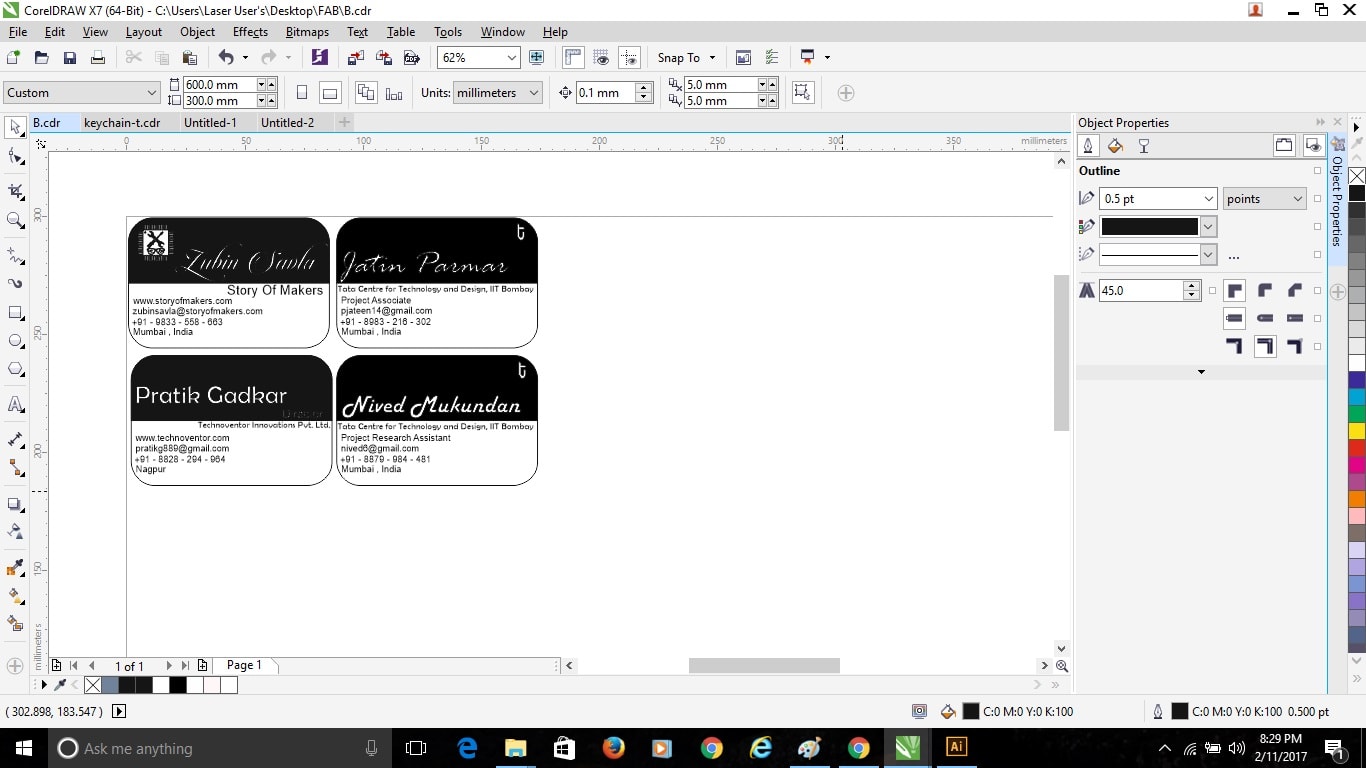
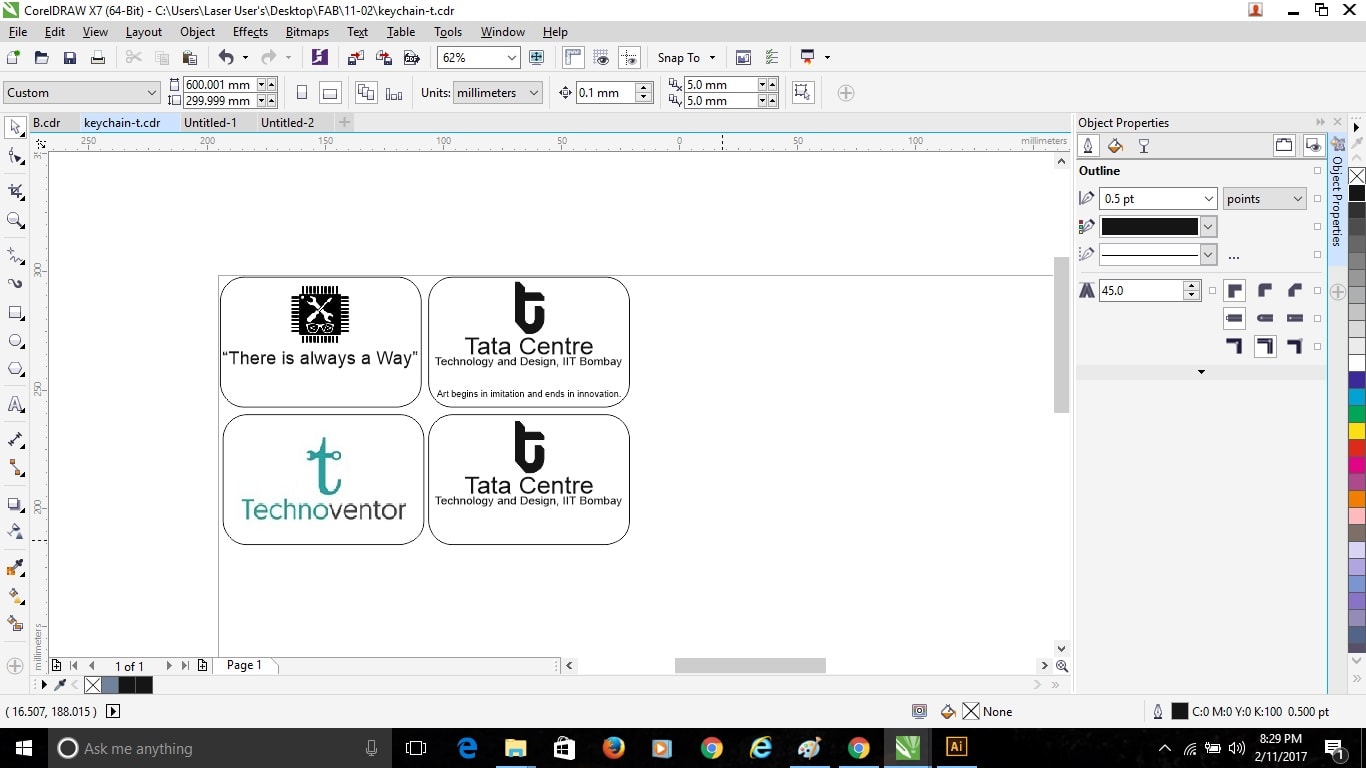
Coral Draw is also very much similar to Illustrator, only the user Interface is a bit different but functionality is alsmot same. So here in Coral Draw I decided to make some funky business card for me and for few friends. So I just began with drawaing a simple rectangle and gave fillet to those edges, and then inserted a Text Box and simply gave some good looking font in it. Made the top half of the card balck and writen part in white so that I can Engrave the black part and keep the writen name part as it is in my next weeks assignment of Laser Cutting. Similarly inserted a Logo at the back side of the Card and arrange it by selecting it and making it fit in the Rectangular card.
3D Design:-
3D designing or modelling is the process of developing a mathematical representation of any three-dimensional surface of an object via specialized software. The product is called a 3D model.
CATIA
Through the Various Software Available like SolidWorks, Catia, Creo, NX, etc. I choose Catia V5 for modelling as i was familiar with that software and have used it for very long time. I had Catia installed in my PC so directly started Working with it.
I then decided to make my Projects rough 3D model on the Software for this Assignment. As in Assignment 1 we were told to make a rough sketch of the Project, so with reference to that I started modelling.
To Began with first as i opened Catia, I went to Start then Mechanical Design and Then Selected Part Design then the Window with 3 Planes opened and then I was Ready to start Modelling there. So First I selected the Top Plane and Started the Design with the Base of the Machine of 450*300 mm and Extruded it by 10mm. Then I started with the Four bars of 12.5*12.5 mm over the Base to support the above plate and extruded it by 170 mm.
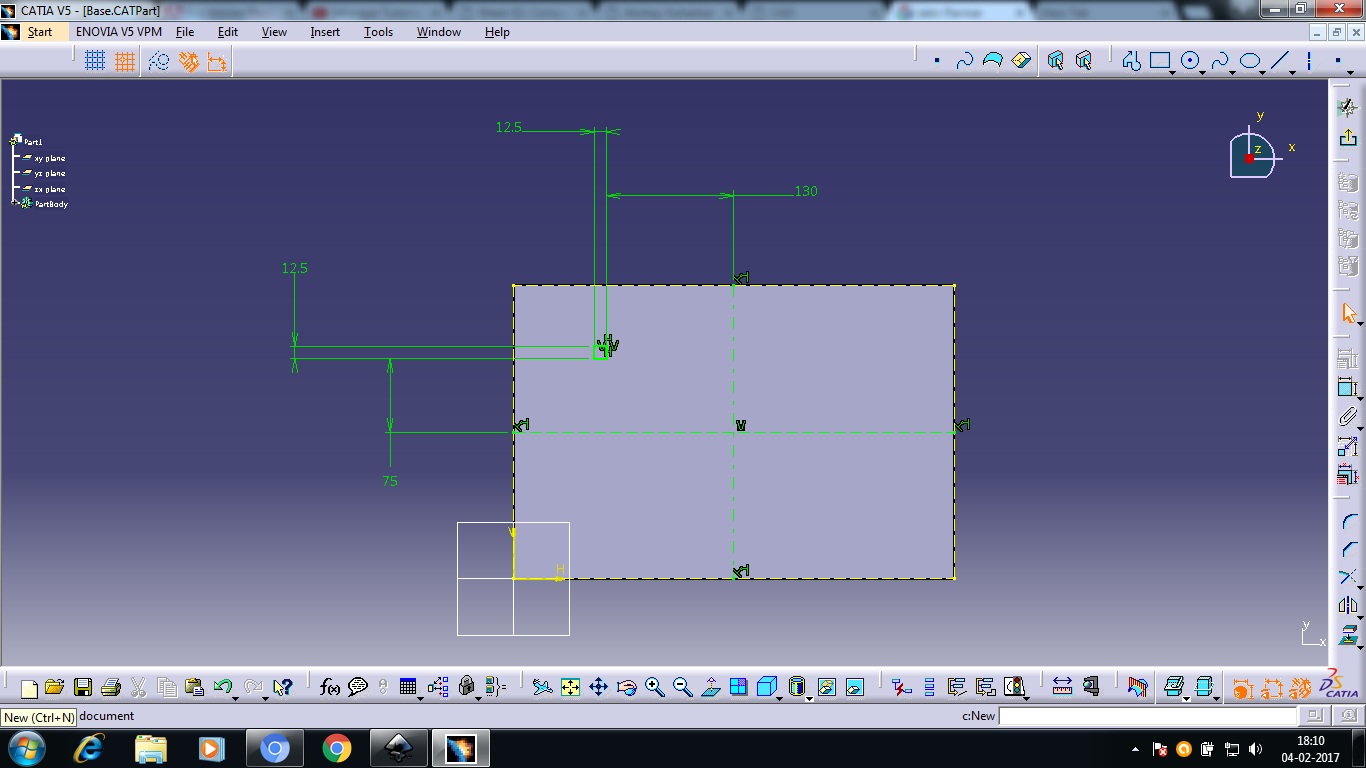
Then started with the above plate over the pillars which had a hole at centre for the cutter to pass, the top plate is of 160*300 mm with Extrude of 10 mm and a Centre hole of 30 mm diameter. Made a 50 mm diameter hole at the bottom base plate with Threads for the height arrangement.
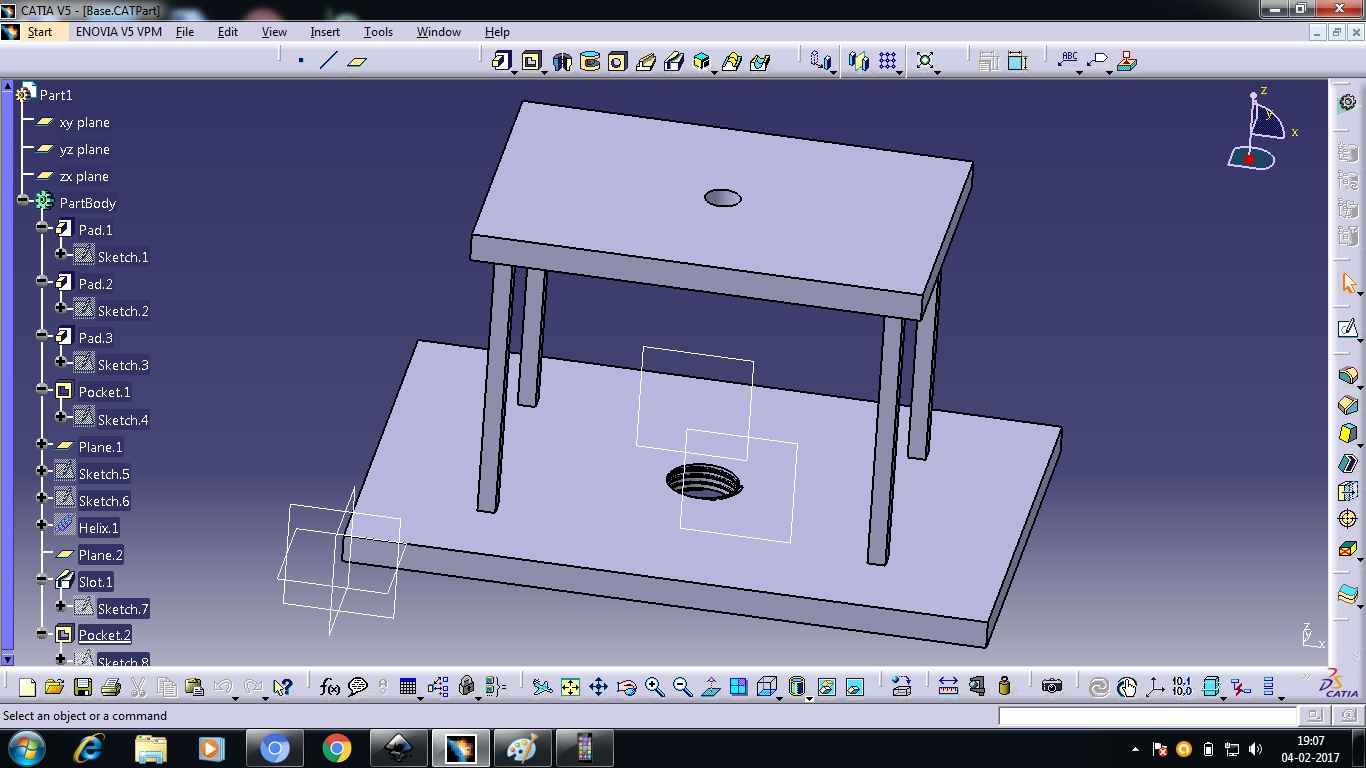
Started with the Shaft which is going to attach at the bottom Plate of Diameter 50 mm with threads around it and above that the supporting base for the Pineapple.
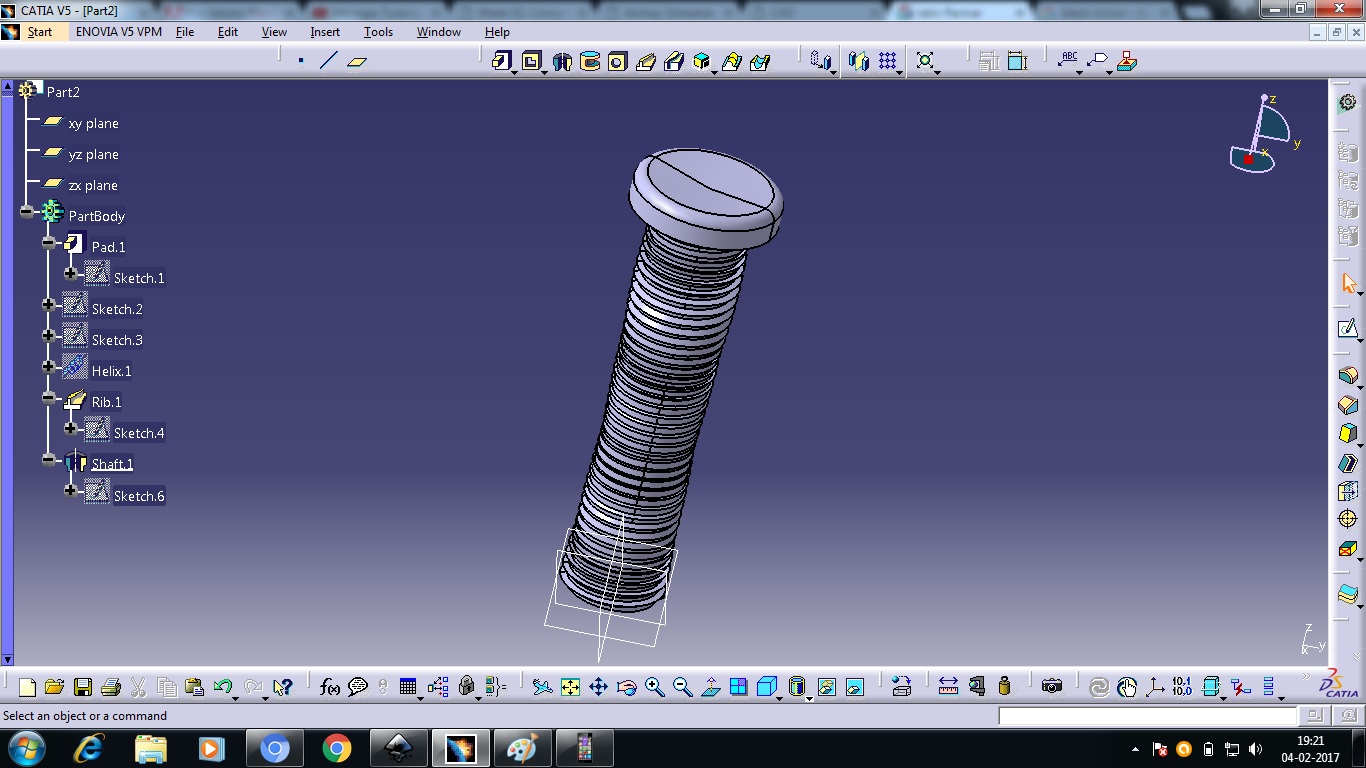
Then Made the Cutting Plunger which is going to be placed at the top plate with Diameter 30 mm and height 160 mm and Assembled it by going to Start – Mechanical Design – Assembly.
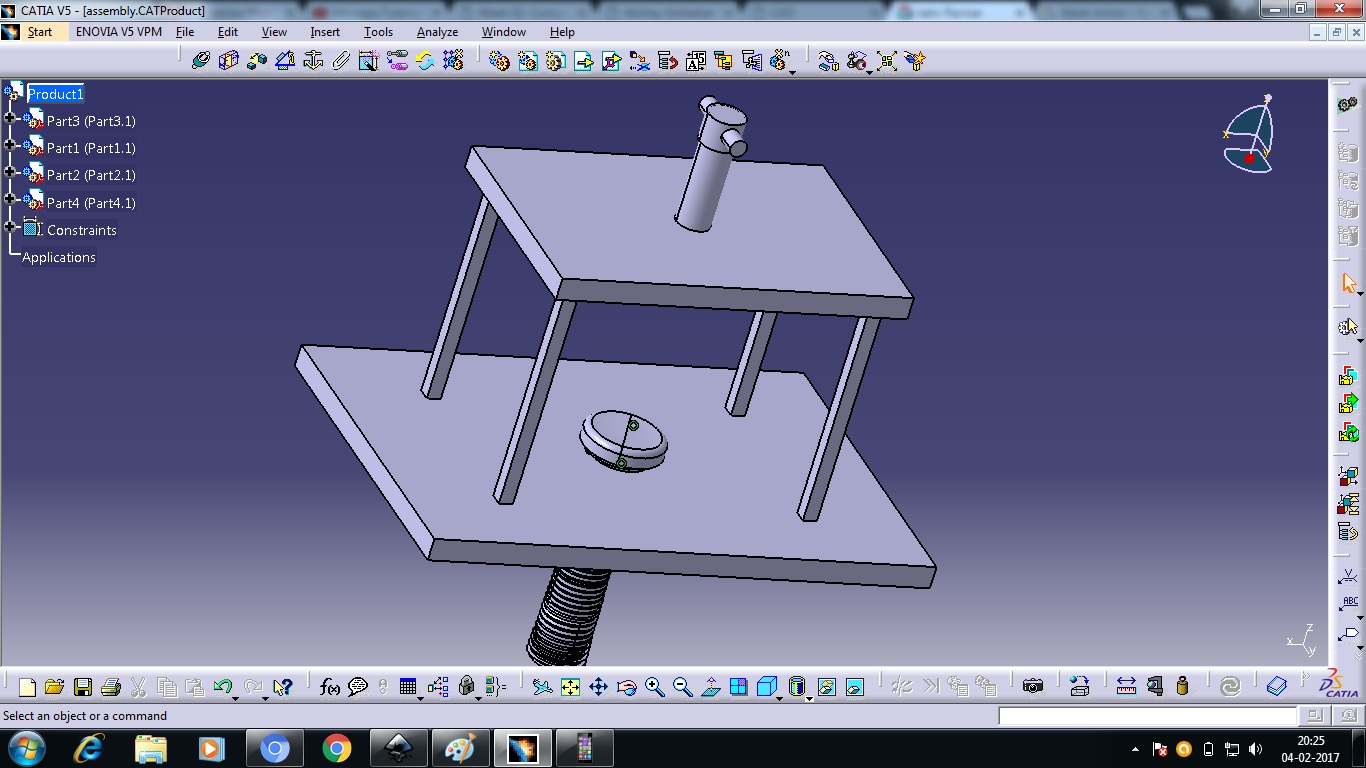
Now with reference to the assembly stared making the Handle above the Top Plate.
First made two rods and arranged springs around it and then made a plate above it with two holes on it to pass through the rods compressing the Spring and then made the handle above the all for pressing the plunger below for peeling the Pineapple.
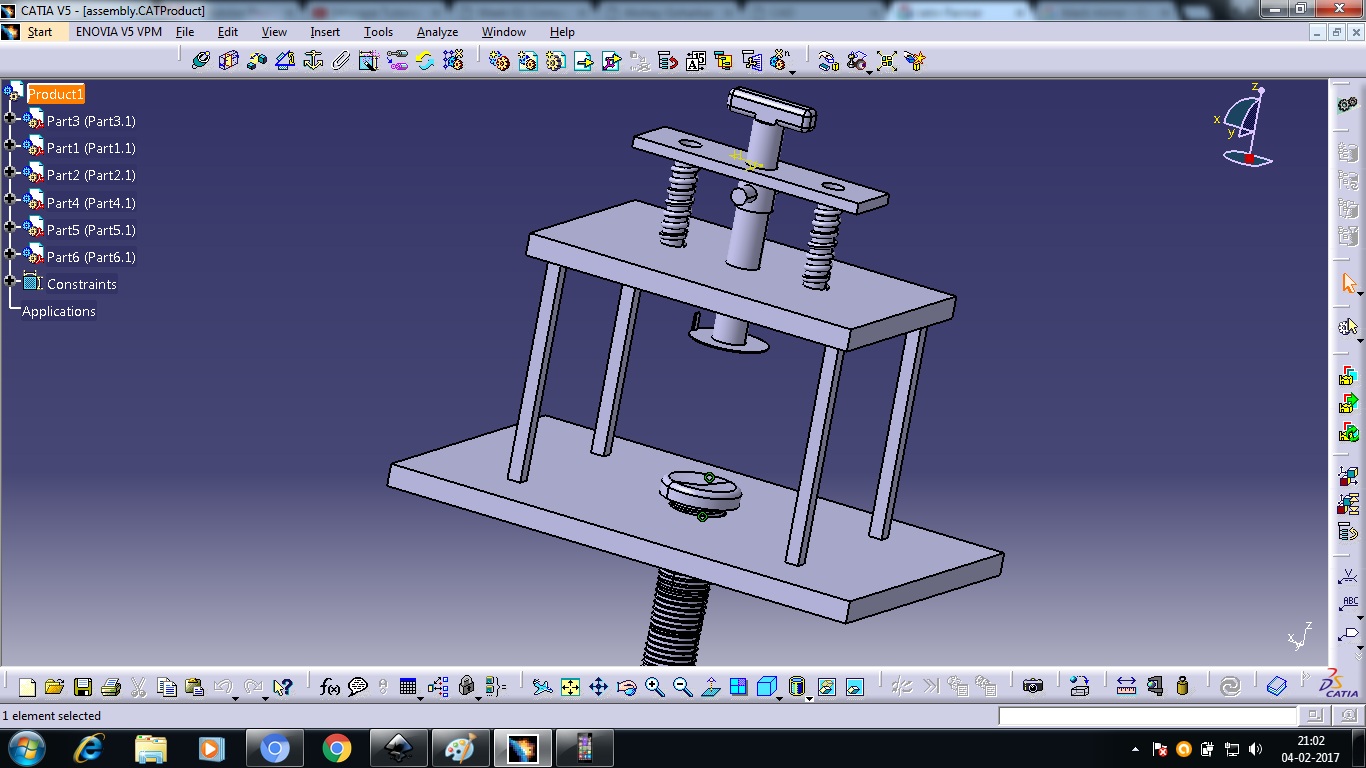
And after all that my Design was ready.
The .stl & .CATPart Files are Given Below to Download.
SolidWorks
Apart from Catia I then Used Solidworks for Modelling. In Solidworks, I made a Cam and Follower Mechanism. As being a Newbie using Solidworks I didn’t found it difficult as the both Catia and Solidworks are of same company Dassults System, all the tools and Commands are also with same Name and can easily be found as the User Interface is very good.
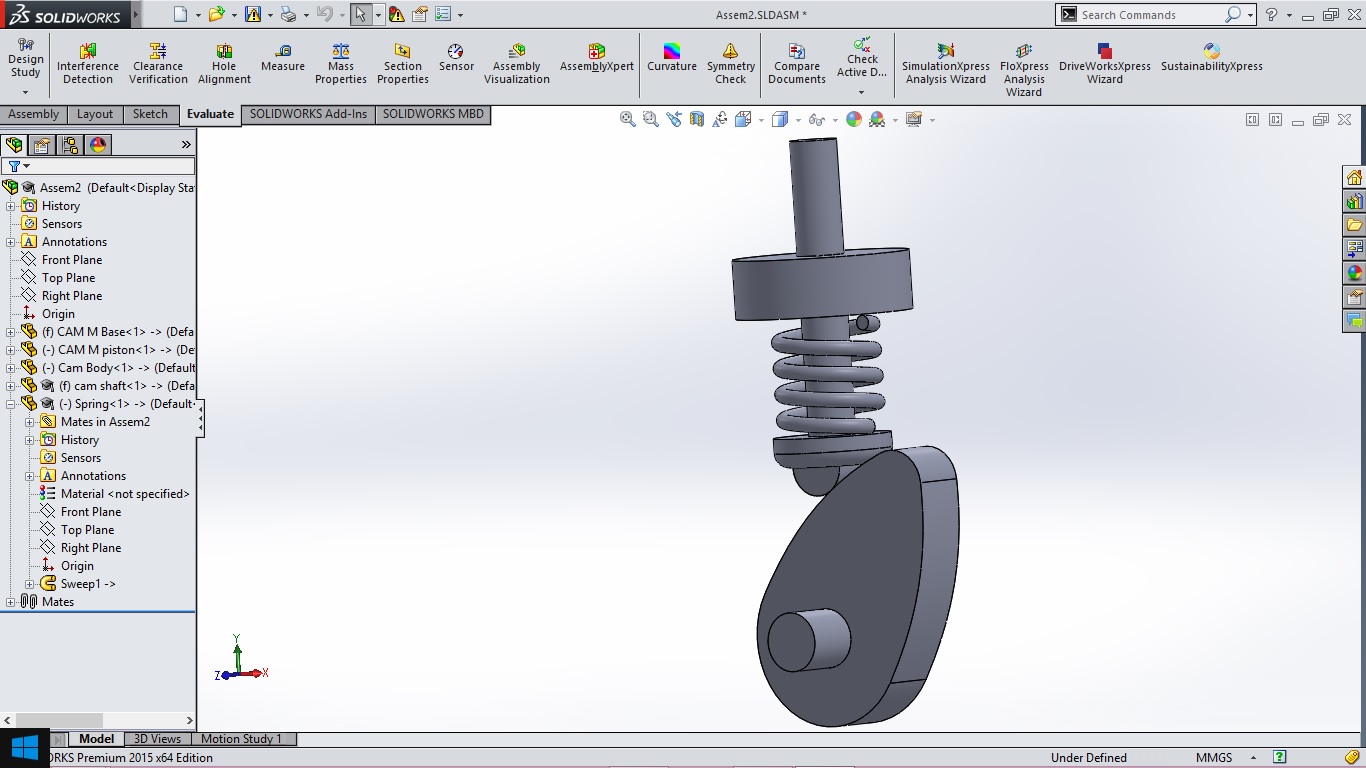
All the of Cam and Follower Mechanism is given below for Download.